

 +86-13386111894
 Products & Solutions
  en
en English
 Русский
 España
 عرب .
عرب .
If you need any help, please feel free to contact us
inquire
Float Switches for Water Tanks: How They Work & How to Choose
How a Float Switch Actually Turns a Pump On and Off
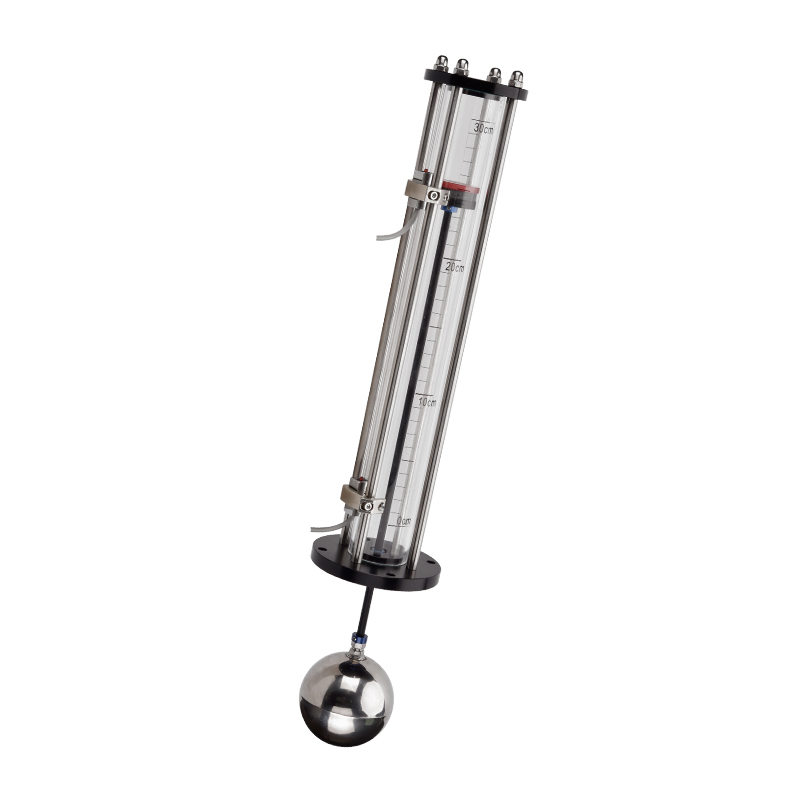
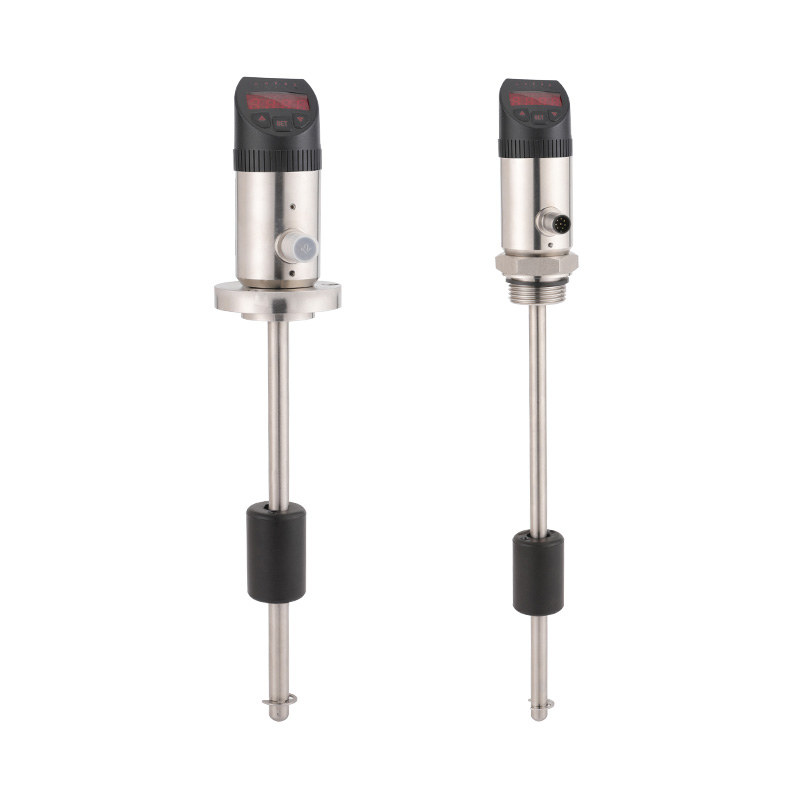
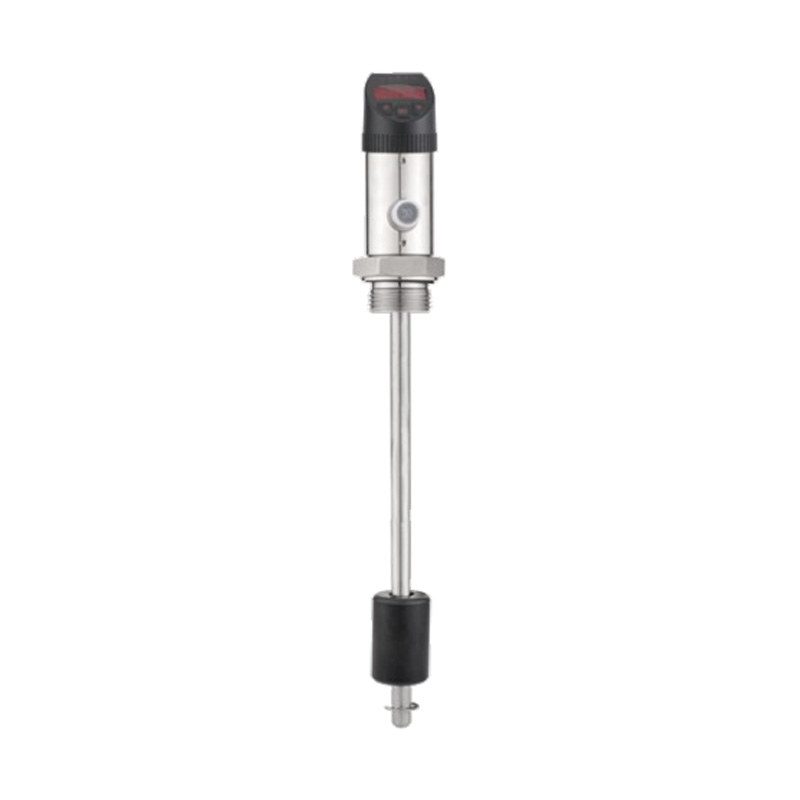
Inside most float switches sits a sealed stainless steel or PP tube containing a reed switch. A separate float — a ring-shaped body with a magnet embedded inside — rides up and down that tube as the liquid level rises and falls. When the magnet passes the reed switch, the magnetic field triggers it open or closed, sending a simple on/off signal to whatever it's wired to: a pump relay, an alarm, or a control panel.
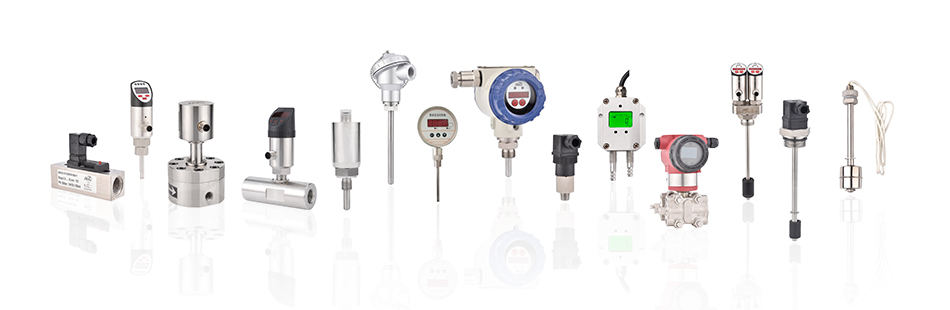
There are no optical sensors, no electronics to calibrate, and nothing that needs line-of-sight to the liquid. That mechanical simplicity is exactly why float switches remain the default choice for tank-level control decades after more sophisticated sensing technologies arrived — they keep working in murky water, in tanks with foam or vapor, and in installations where a technician isn't checking on them every week. Paku's full range of liquid level switches for tank-level control covers this mechanism across a dozen-plus form factors, from compact vertical units to cable-suspended models for deep tanks.
Normally Open vs Normally Closed: Getting the Wiring Logic Right
This is where a surprising number of installations go wrong, and it's worth getting straight before anything else. A normally open (NO) switch is inactive — circuit open — when the float hangs down at a low level, and closes the circuit as the float rises. That's the logic you want for pump-down applications: start the pump when the tank fills up, stop it once the level drops.
A normally closed (NC) switch works the opposite way. The circuit stays closed while the float is down, and opens as the level rises. That's the wiring you need for pump-up or fill applications — starting a well pump or transfer pump when a tank runs low, and shutting it off once it's full. Mixing these up doesn't just cause a malfunction; it can leave a pump running dry or a tank overflowing unattended, so this is the first spec to confirm on any datasheet before wiring goes in.
Which Float Switch Style Fits Your Tank
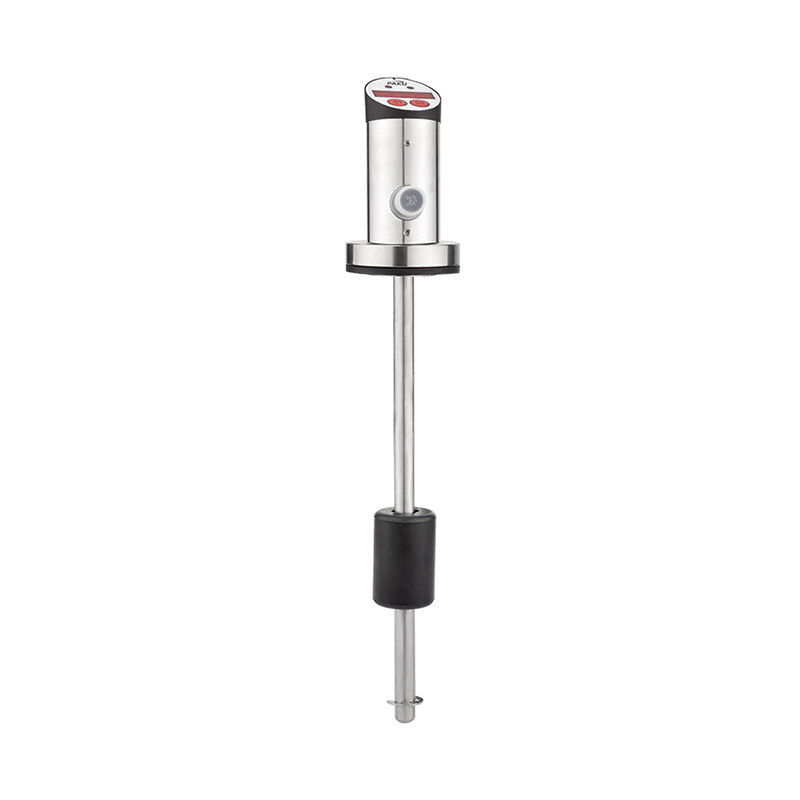
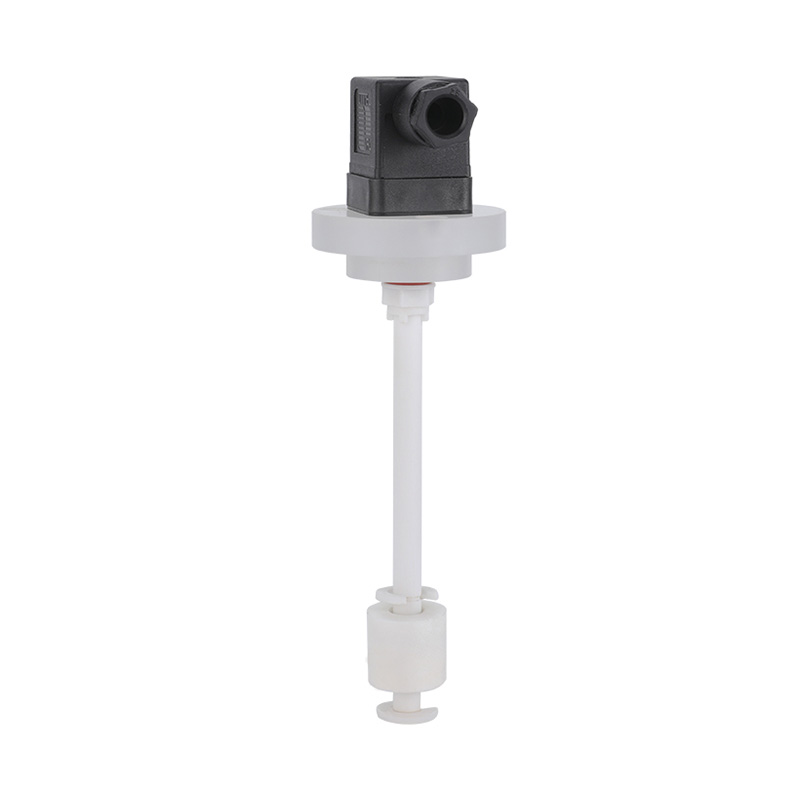
Tank geometry and access largely decide the style. A compact vertical float switch mounts directly through the top or side of the tank on a rigid stem, which keeps the trigger point precise and makes it a natural fit for smaller tanks or tight enclosures where a swinging cable isn't practical. Paku's basic vertical float switch built for compact tank installations is representative of this category — a fixed stem, reed-switch trigger, and a simple single-point setpoint.
Cable-suspended float switches take a different approach: the float hangs freely on a length of cable, tilting to trigger the switch as the liquid crosses a set angle. Because the cable length is adjustable, these are the practical choice for deep tanks, cisterns, and sumps where a rigid stem would either be too short or too awkward to install. Paku's cable-suspended float switch designed for deep or irregular tanks is rated for a million switch cycles and commonly used in household, agricultural, and industrial water tanks alike.
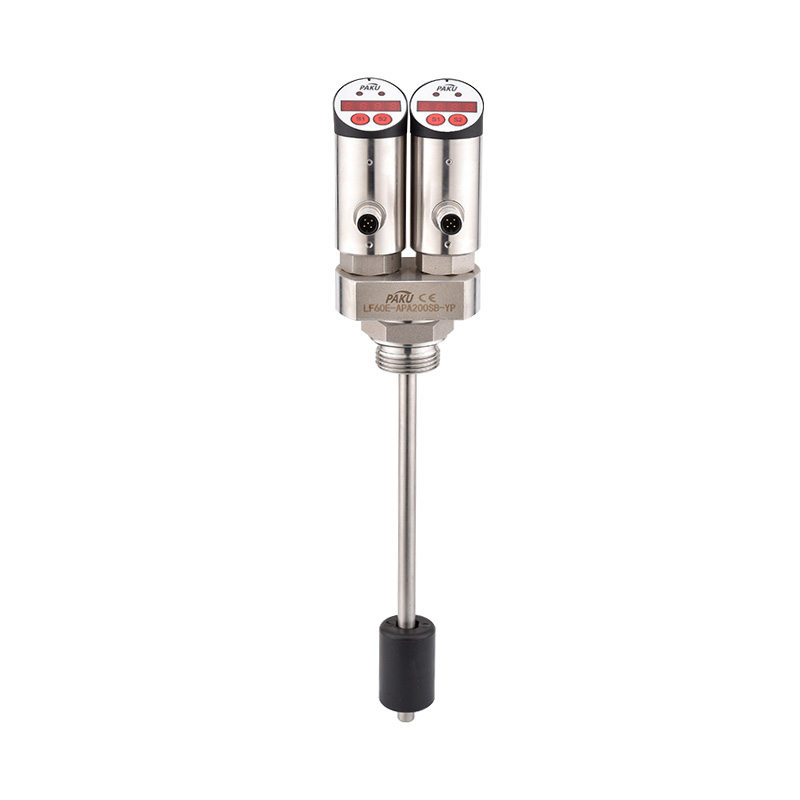
Multi-point float assemblies stack several floats on one stem or cable to monitor two or more levels at once — low alarm, pump-on, pump-off, high alarm — from a single installation point. These make sense wherever a control panel needs more than a simple on/off signal, such as lift stations or process tanks with staged pump control.
Key Specs to Check Before You Buy
Beyond NO/NC logic and mounting style, a handful of specifications determine whether a float switch will actually work in your tank rather than just fit in it:
- Medium density — most float switches are rated for liquids at or above roughly 0.75 g/cm³; water clears this easily, but lighter fluids may not provide enough buoyancy to trigger the float reliably
- Maximum pressure and temperature — a switch rated for 5 bar and 130°C covers most water tank duty, but hot water systems or pressurized tanks need a spec sheet check first
- Wetted material — stainless steel and PP housings handle clean water fine; corrosive liquids, brine, or mild acids call for anti-corrosion construction rather than standard-grade parts
- Protection rating — an IP65-rated housing is standard for outdoor or washdown-prone installations
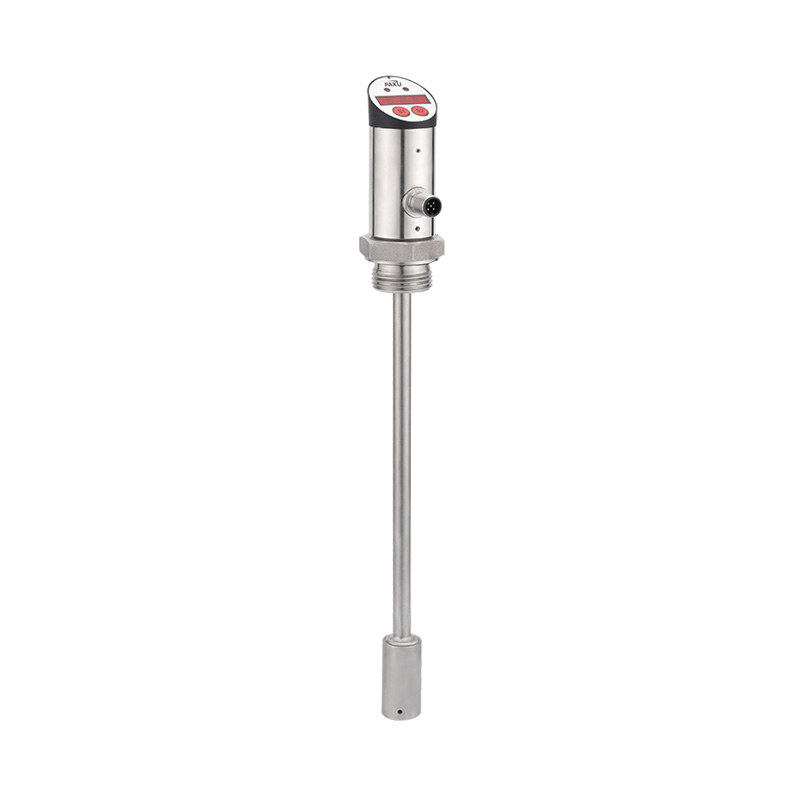
For tanks holding anything beyond plain water — dilute chemicals, saline solutions, or wastewater with suspended solids — material compatibility becomes the deciding factor rather than an afterthought. Paku's anti-corrosion float switch rated for aggressive liquids is built specifically for that gap, with a PP probe and float construction and an optional temperature sensor built into the same rod. In North America, float switches used in industrial control applications are also commonly built to meet the UL 508 Standard for Industrial Control Equipment, which covers float, flow, and pressure-operated switches under its safety and performance testing requirements.
Common Water Tank Applications
Residential and small commercial water tanks use float switches for the most basic job there is: keeping a booster pump or well pump running only when it needs to. A single NC switch handles a simple fill-and-stop cycle for a cistern or storage tank fed by a low-yield well.
Wastewater and sump applications lean on the same mechanism in reverse — NO switches that start a discharge pump once a sump fills and stop it once it's cleared, often paired with a second float as a high-level alarm in case the primary pump fails. Industrial and agricultural tanks — irrigation reservoirs, livestock water troughs, chemical dosing tanks — tend to use the anti-corrosion or multi-point variants, since they're exposed to harsher media or need staged control across more than one setpoint.
Installation and Reliability Tips
A float switch is mechanically simple, but a handful of installation habits are what separate a reliable install from one that trips false alarms:
- Mount the switch away from the fill inlet or any turbulence source — splashing and surface agitation can trigger a float switch prematurely
- Leave enough clearance around a cable float for the full swing angle it needs to trigger, typically around 10-28 degrees depending on the material
- Route cables to the control box directly where possible, and never submerge a cable joint if one is unavoidable
- Check the setpoint against actual tank geometry, not just the datasheet — a float switch mounted too close to the tank wall can hang up mid-travel
Get these right and a float switch is one of the lowest-maintenance components in a water system — no calibration, no software, and a failure mode that's usually visible the moment it happens rather than something that fails silently.
information
 [email protected]
 +86-13386111894 / +86-021-37566990
[email protected]
 B-4th Floor, Lane 1313, Nanting Road, Nanqiao Town, Fengxian District, Shanghai, China

Product Links